 |
| Someone lift that bloody stonk! |
I went over to long-time friend Dave's house the other evening for a 28mm WWII game. His long-time friend Sean was in town and Dave wanted to put little WWII Game on for Sean prior to him traveling back to the Caucuses. We used the Bolt Action rules, which despite their faults, provided a decent Platoon level skirmish game. Admittedly, we played fast and loose with the rules as I have only had a few BA games under my belt, Dave even less – and Sean none at all. We were able to play in Dave's beautiful new and expansive upper-story "Gentlemen's Parlor" dubbed The Eagles Nest. Besides the figures, paintings and military relics, I believe he has enough tables space for a 6' x 12" game (which could go 6'x18" given a supplemental table). For our game we stuck with a conservative 5' x 5'.
Dave had asked me to come up with a scenario and OOBs, and (despite our collective wealth of historical figures) we simply do not have much in the way of 28mm WWII. As Dave has a Platoon+ of Germans and British Paras, and I an equal number of British infantry and Eastern Irregulars (partisans) I determined to work up a Para-Relief Force link-up scenario. Initially I was looking to Normandy, but then thought of Operation Plunder and Varsity (Rhine Crossing) in March 1945 as something different. Some quick Research and I came up with the 8th Royal Scots link-up with Canadian Paras the day after the airdrop (see map below). This scenario has desperate Germans remnants set up in the woods and Farm buildings at the western edge of the "Diersfordterwald" while Canadian Paras push through the woods in the northwest and a patrol of the Royal Scots enter form the southwest. Victory would be determined by the Commonwealth troops ability to link-up without taking casualties that would render them combat-ineffective.
The Paras were given a couple Veteran sections with some heavy weapons team (MMG and Medium Mortar) support as were the Royal Scots (MMG and Sniper). In addition, both Commonwealth players had an FO for an artillery Bombardment, and the Scots had two MMG armed Bren Carriers. The Wehrmacht had a two Regular Infantry sections with LMGs, an MMG, a Heavy Mortar and a Quad-20mm FLAK that could be mounted or dismounted. In addition the Germans had two inexperienced Volkssturm rifle squads, a small LMG squad and an Anti-Tanks Rifle (ATR) team. Every German squad was also armed with a Panzerfaust.
Dave took the Germans, Sean the Paras and I took the Scots. Dave asked if the Germans could use hidden /maps set-up, and though neither the scenario, nor BA rules really accounted for that, we agreed it might be interesting and so (excepting the Heavy Mortar and Quad 20mm FLAK) Dave jotted down his squad positions, to be kept hidden until engaged. Sean and I discussed some basic strategy, agreeing to probe the defenses and then link-up along the path of least resistance. With that, The Ball was opened.
Sean's Paras began moving along the northwest woods and hedgerow with a section in front, followed by support weapons and the second section behind. My Scots advanced with one section dismounted advancing through a wheat field, followed by Company leadership and supporting weapons teams. The other section was mounted in the carriers and began to flank to my right – the more open terrain out of LOS of the Quad FLAK. Dave's only initial fire, was a lucky Heavy Mortar direct-lay on my lead troops – handing my No. 1 Section 5 casualties and two pins. Blimey!
Dave and Sean exchanged fire in the north with Sean taking some losses, then shooting up Dave's Mortar crew. Dave fired on my hapless 1st Section with his hidden "Spandaus" sending the unlucky Scots reeling back through the Korn with over 50% loss and three pins total – these particular Jocks were now fairly done-in. Dave also began firing with his Volkssturm ATR at my Carriers as they moved to push the eastern flank - but the inexperienced Volks gunner could not get a hit. At this point Dave asked if his MG troops who had fired at me could conduct hidden movement in the buildings (therefore backing off and remaining hidden as they displaced) and to Sean's regret – I agreed. There are specific building rules in BA – but we typically ignored them for expediency sake. While having so much hidden set-up and movement for the Germans added a bit of realism and Fog-o'-War, it needed to be counter-balanced by non-existent BA rules consideration for things like "Searching Fire" and targeting "likely" locations - these we had not considered, as all of this was done on-the-fly.
Meantime, I managed to knock out the Volkssturm ATR and Sean, "Klatch-BOOM!", got a good PIAT hit on the SDKFZ, destroying it and the re-mounted FLAK. In addition, Sean began to tangle with some Volkssturm squads blocking the woods route. In this encounter, the veteran Paras first shot up then assaulted the inexperienced, armed civvies – but not before taking a few Para casualties themselves. In addition, Dave (via the hidden movement) had displaced his MGs to the northern side of the Farm to take Sean's Paras under marginally effective fire.
I had targeted a "known" German position with artillery, and Sean followed suit. But the fire missions failed to arrive for two turns. When my "Stonk" finally did come in it destroyed and unoccupied out-building that I had thought, through Dave's cunning deception, might have some Panzerfust armed Volkssturm inside - but instead had only a drunken Volks shirker whose hangover was rudely interrupted by a sheaf of 5.5 inch rounds.
At this point, Sean, while blooded, was still proceeding steadily through the Woods towards a link-up with my forces on the northeastern flank. I debussed my No. 2 Section in the southeast field and shot one of my carriers long up the eastern flank, while the other carrier supported with MMG fire. As expected, a flash and smoke shot out of the upper story of the eastern farm building and Dave's Panzerfaust got a solid hit on the thin-skinned carrier (indoor overpressure notwithstanding). The carrier went up in a ball of flame, shaking-up the already battered Scots. However, one carrier, a full squad and all Sots support weapons remained unharmed and so the dour Scots continued their advance.
At this point the evening was late and we determined to call it a night. The "wholly unbiased" assessment of the Scots commander was that albeit thoroughly blooded, the Canadians Paras and Scots would likely link-up on the eastern Flank within a few turns – though not without taking further casualties - significant overall. Therefore, given the Germans' tenacity, and heavy Commonwealth casualties a minor German victory would likely be the result.
A great time was had by all and much good German and Belgian beer was quaffed over a few fine cigars as we pursued the action. Still enjoy the BA mechanisms, though it is not without its quirks. Also, due to the card-like dice activation in BA, when playing a multi-player game with 20+ total elements engaged – you really have to keep thinks cracking to get through the turns. Recommendations for scenario refinements might be to either forgo or fully think through hidden movement and associated rules (if these modifications are allowed) and/or to provide the Scots a prelim bombardment or a Sherman DD tank (the Scots were historically supported by Shermans in this Op.) then give the Germans additional AT (a Panzerschreck or light/med AT Gun). Looking forward to more BA, but can't wait to fight a really big SYW, ACW or Napoleonic game in Dave's game room as those periods can really take advantage of the table-space.
In Memoriam:
As we play these games with our toy soldiers, it is good we occasionally reflect on the actual human cost of these operations. While doing my minimal research for this scenario – I came across the following.
Rest in Peace BRIAN TERENCE PECK. Born the same year as my father (who served in, and survived the Pacific war) but died far too young.
 |
| Dave and Sean discuss turn one move under the gaze of Bony |
 |
| Scots advance |
 |
| Mortars - Hit the dirt! |
 |
| Canadian Paras move our smartly |
 |
| Paras take out the Mortar Team while Flak crew ducks behind cover |
 |
| Dave consulting his hidden set-up positions |
 |
| Scots debussed |
 |
| Para advance meets Volksstruurm contact in the woods |
 |
| Forward! |
 |
| Destuction of the out-house |
 |
| Panzerfaust! |
 |
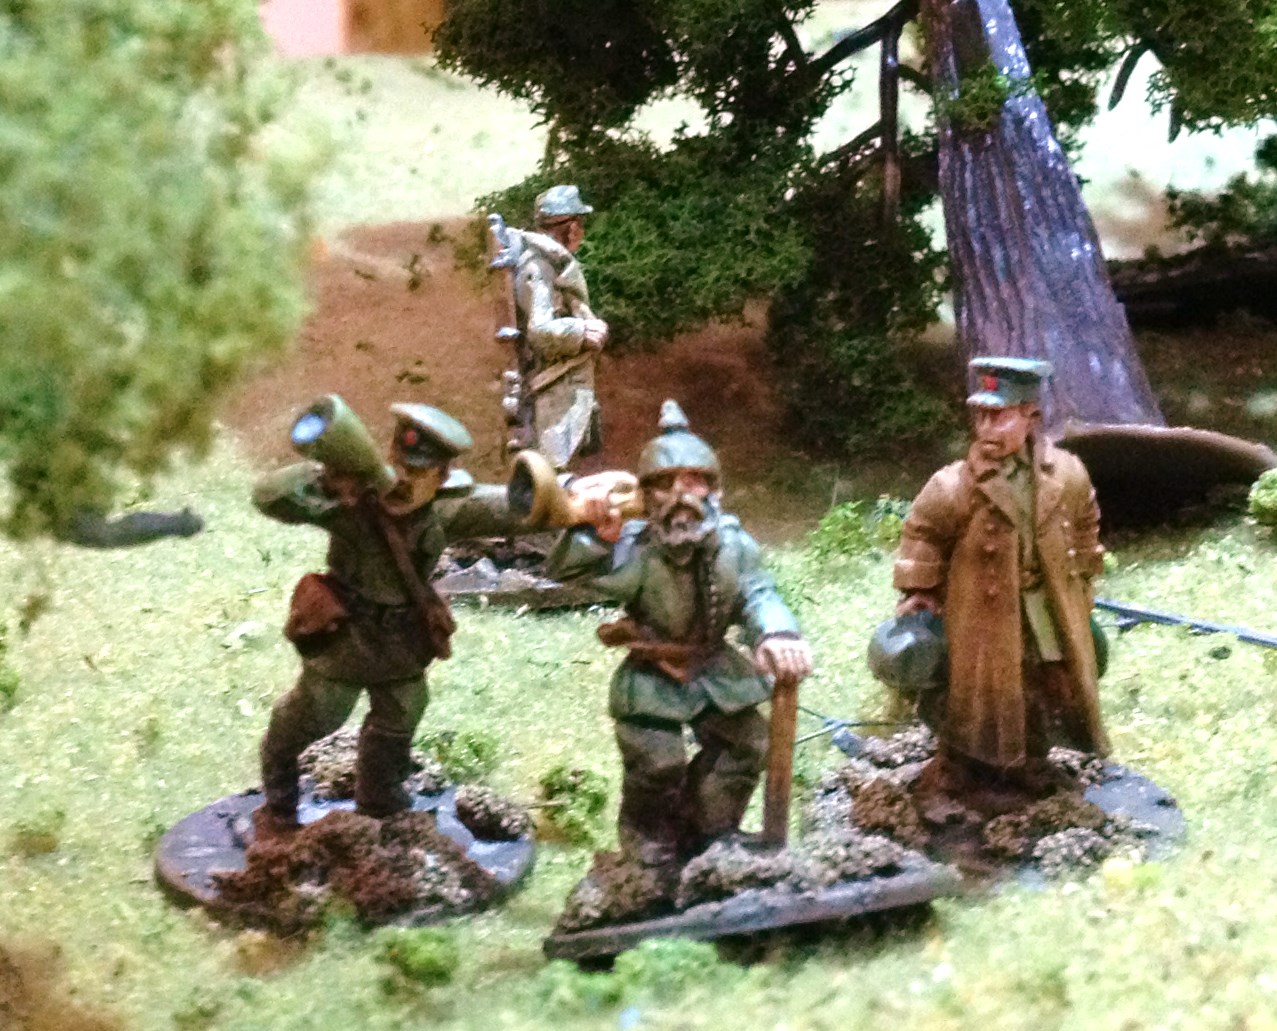
| Volksstrum Command |
 |
| Para assault - the end of the Volksstrum |
 |
| Two great commanders - then there is Dave and Sean :) |
 |
| Skulking German AT Team |
 |
| At 'em Jocks! |
 |
| Klatch-Bang! Piat hits home |


Splendid looking game and great AAR Joe! Nice to see Dave's new playroom too!
ReplyDeletestell dich hinten an, du penner! Yes, we had a great time up in the "Eagle's Nest" although there was much in the way of "eagle dust" being thrown back and forth! Joe does a great job putting on a 1st class game, win, lose, or draw! More to follow...
ReplyDeleteWolfy von Totenhosen